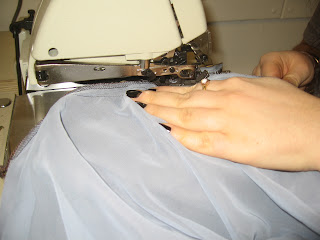
We started off by laying out three different fabrics that were 2 mtrs long and of various widths (approx 1.5 mtrs.)
We the pinned and sew these together to create one long piece of fabric, we then sew up the sides to create our pillow case.
Time to start our pattern...
The darts on the front and back of the bodice need to be at the top because of the positive and negative place meaning this is the only place we will be able to access them.
When we had cut both pieces of the bodice we placed them on our pillow case...keeping in mind which shapes and positions worked for our toile. We then drew from one underarm to another.
We then cut around our pattern and out lines. This is the shape that has been cut away...
This is what it looks like so far...
We used our bodice pattern again to cut out our lining. We wanted our lining to be short so it would not get in the way of the transparency of the skirt. We then sew up the darts on both the frount and back of the lining and on the bodice.
We then placed and cut our circles...
We sew them together and over locked them because of the fine fabric.
We cut 4 circles to create 2 tunnels...this is how it looked after cutting one...
We then added in the invisible zip down the side of the bodice and the lining.
Finally we over locked the hem and sew it to the bottom of the lining (missing the zip)
Finished dress...


No comments:
Post a Comment